Email filters are a great way to manage incoming emails. All you have to do is set rules in the filters for the emails and the tool will execute them autonomously. It’s provided in most cPanel hosting accounts. In this article, learn how you can create, access, set criteria, delete, and test email filters within cPanel.
Creating an Email Filter in cPanel
If you do not have an email filter, then you can create one in cPanel. Here are the steps involved:
If you already have Email Filters, you can access and tweak them. To view all the Filters associated with a particular email account, click on Manage Filter next to it. It will show you all the filters.
Any new filter you add will append to the existing filters. This means it will run after all the previous filters are executed in order. You have the capability of changing the order via drag and drop.
Editing a Filter
You can edit existing filters by following these steps:
You can delete a filter if you no longer want it. Here are steps you need to follow:
Testing a Filter
After creating a filter (or editing an existing filter), you should test it. Here are the steps involved for doing that:
Creating an Email Filter in cPanel
If you do not have an email filter, then you can create one in cPanel. Here are the steps involved:
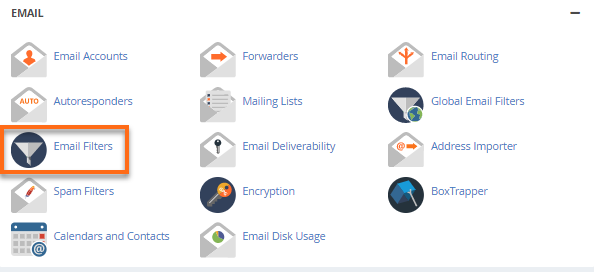
- Click on Email Filters from the cPanel Webmail interface.
- Click on Create a New Filter
- Provide a name for the new filter in the Filter Name text box
- Configure the filter by setting up necessary rules and actions
- Lastly, tap on the Create button
If you already have Email Filters, you can access and tweak them. To view all the Filters associated with a particular email account, click on Manage Filter next to it. It will show you all the filters.
Any new filter you add will append to the existing filters. This means it will run after all the previous filters are executed in order. You have the capability of changing the order via drag and drop.
Editing a Filter
You can edit existing filters by following these steps:
- Located the filter you want to edit and click on Edit next to it
- Make the necessary changes
- Click on Save to apply the changes
You can delete a filter if you no longer want it. Here are steps you need to follow:
- Find the filter you want to remove and click on Delete next to it
- Click on Delete Filter
Testing a Filter
After creating a filter (or editing an existing filter), you should test it. Here are the steps involved for doing that:
- Access the Filters by Users table and then look for the appropriate email account. Click on Manage Filters next to it
- Open the Filter Test box and type a message (it’s necessary to include characters or words that you have entered in the filter)
- Click on Test Filter
- The conditions applied in the filter and whether it returned true or false
- The file name of the filter
- Sender and Recipient used for the test email
- Character set used in the email message
- Whether or not the email will get delivered normally or if the filter will trigger a change in delivery