WordPress wp-login.php brute force attack
Since, April 2013 there was a very common issue to the wordpress users who are solidly facing the problem brute force attack. It takes the IP address as the main tool to spread over the in larger scale. Nearly, 90,000 botnets were created and tried to insert into Wordpress server. Its main cause is to hack the username and password. Let we give you general precaution to safeguard your Wordpress account ensuring the brute force attack.
1. You can do the steps to keep safe your Wordpress account by locking the screen.
2. You can keep the secondary admin password.
3. You can edit the Wordpress URL created by admin into WP-admin HC custom plugins.
4. You can have the limitation to block the IP address which tries to login repeatedly.
In this article, let we discuss about the steps to lock the screen in Wordpress account. It would give the better result when compared to other steps.
Step 1: Firstly, you have to choose the strong password:
Step 2: You can change the wordpress admin name which is default:
In default, the username will be choosing by Wordpress. Without changing it the user will continue with the same name. It is necessary to change the username. Moreover, the botnet will first target the default username and the hacker can easily identify the username.
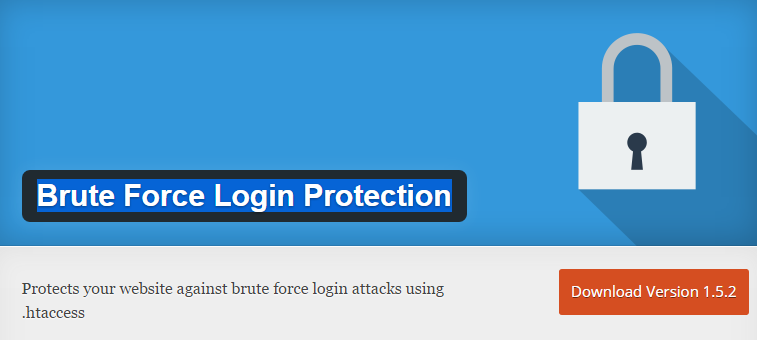
Step 3: You can lock the WordPress by using the brute force plugin :
In this part, you can use the WordPress brute force plugin to prevent your information’s from the hacker. But it won’t give the best result. You can go for two solutions such as:
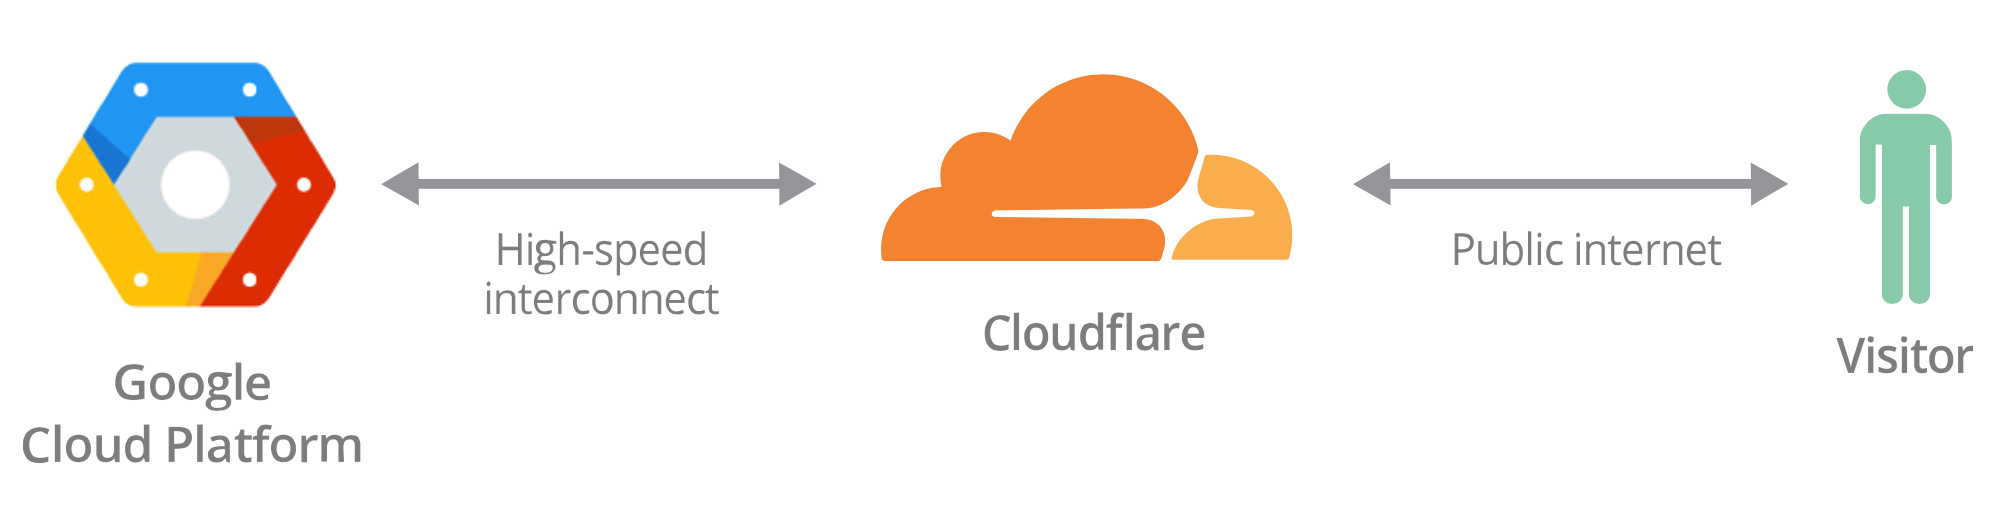
Step 4: You can setup with the DNS protection level in CloudFlare:
In all the free accounts, the CloudFlare has given the solution to filter the DNS at starting it thinking the brute force attack in mind. If you have multiple WordPress account, it would definitely take 24 to 36 hours to filter the DNS for security purpose.
But if the user has only one account, he will get filtered within few minutes.
Step 5: Block the access of Xmlrpc.php :
xmlrpc.php is one of the entry points for hackers to access your website. So we always recommend blocking all the access of this file. By using below steps you can block the access the xmlrpc.php.
Xmlrpc rename:
xmlrpc.php deletion:
Denying .htaccess
Step 6: prevent from comment spam:
If you have a wordpress blog then it may be a chance that someone comment malicious links, advertisement on your blog. You can stop by using comment spam protection and defense plugins. You can also use below code in which the comment need to submit the username and password from the actual page.
This is for apache:
This is for Nginx:
Step 7: Deny the access of wp-login.php file through .htaccess file:
It’s very easy to deny the access of wp-login.php by limited the IP access. You can deny all the IP’s and can allow only your IP address to access the file. Here is the code to allow only your IP address, if you have static IP address then use this below code:
For static IP address:
For multiple IP addresses:
Step 8: Deny the access of wp-admin folder through .htaccess file:
It’s not compulsory to follow this step if you deny access of your wp-login.php file, but if you don’t want to take risk then you can block the access of entire wp-admin folder. Put your .htaccess file within /wp-admin/
Multiple IP addresses:
Static IP address:
Step 9: Protect /wp-admin/ through htpasswd :
If the server does not have installed SSL certificate then it may be possible that the credential(username, password) can be stolen. You can do this by simply protecting the wp-admin, wp-login.php by adding the code in .htaccess.
Step 10: Wordpress update:
It is necessary in all actions of websites and accounts. Update plays very important role in desktop and mobiles.
Since, April 2013 there was a very common issue to the wordpress users who are solidly facing the problem brute force attack. It takes the IP address as the main tool to spread over the in larger scale. Nearly, 90,000 botnets were created and tried to insert into Wordpress server. Its main cause is to hack the username and password. Let we give you general precaution to safeguard your Wordpress account ensuring the brute force attack.
1. You can do the steps to keep safe your Wordpress account by locking the screen.
2. You can keep the secondary admin password.
3. You can edit the Wordpress URL created by admin into WP-admin HC custom plugins.
4. You can have the limitation to block the IP address which tries to login repeatedly.
In this article, let we discuss about the steps to lock the screen in Wordpress account. It would give the better result when compared to other steps.
Step 1: Firstly, you have to choose the strong password:
- Your password should more than 8 characters.
- You can have the combination of both uppercase and lowercase.
- You can add some numbers, symbols and non-alphanumeric letters.
Step 2: You can change the wordpress admin name which is default:
In default, the username will be choosing by Wordpress. Without changing it the user will continue with the same name. It is necessary to change the username. Moreover, the botnet will first target the default username and the hacker can easily identify the username.
Step 3: You can lock the WordPress by using the brute force plugin :
In this part, you can use the WordPress brute force plugin to prevent your information’s from the hacker. But it won’t give the best result. You can go for two solutions such as:
- Choosing another password such as backup password.
- You can set the limitation to login the WordPress account.
Step 4: You can setup with the DNS protection level in CloudFlare:
In all the free accounts, the CloudFlare has given the solution to filter the DNS at starting it thinking the brute force attack in mind. If you have multiple WordPress account, it would definitely take 24 to 36 hours to filter the DNS for security purpose.
But if the user has only one account, he will get filtered within few minutes.
Step 5: Block the access of Xmlrpc.php :
xmlrpc.php is one of the entry points for hackers to access your website. So we always recommend blocking all the access of this file. By using below steps you can block the access the xmlrpc.php.
Xmlrpc rename:
Code:
mv xmlrpc.php randomstring-xmlrpc.php
Code:
rm xmlrpc.php
Code:
<FilesMatch "xmlrpc.php">
Order Deny,Allow
deny from all
</FilesMatch>If you have a wordpress blog then it may be a chance that someone comment malicious links, advertisement on your blog. You can stop by using comment spam protection and defense plugins. You can also use below code in which the comment need to submit the username and password from the actual page.
This is for apache:
Code:
<IfModule mod_rewrite.c>
RewriteEngine On
RewriteCond%{REQUEST_METHOD} POST
RewriteCond%{REQUEST_URI} .(wp-comments-post|wp-login)\.php*
RewriteCond%{HTTP_REFERER} !.*example.com.* [OR]
RewriteCond%{HTTP_USER_AGENT} ^$
RewriteRule (.*) http://%{REMOTE_ADDR}/$1 [R=301,L]
</ifModule>
Code:
location ~* (wp-comments-posts|wp-login)\.php$ {
if ($http_referer !~ ^(http://example.com) ) {
return 405;
}
}It’s very easy to deny the access of wp-login.php by limited the IP access. You can deny all the IP’s and can allow only your IP address to access the file. Here is the code to allow only your IP address, if you have static IP address then use this below code:
For static IP address:
Code:
<FilesMatch "wp-login.php">
Order Deny, Allow
deny from all
allow from 0.0.0.0
</FilesMatch>
Code:
<FilesMatch "wp-login.php">
Order Deny,Allow
deny from all
allow from 122.18.231.8
allow from 182.1.1.12
</FilesMatch>It’s not compulsory to follow this step if you deny access of your wp-login.php file, but if you don’t want to take risk then you can block the access of entire wp-admin folder. Put your .htaccess file within /wp-admin/
Multiple IP addresses:
Code:
Order Deny, Allow
deny from all
allow from 163.18.231.8
allow from 182.12.2.12
Code:
<FilesMatch "wp-login.php">
Order Deny,Allow
deny from all
allow from 122.18.231.8
allow from 182.1.1.12
</FilesMatch>If the server does not have installed SSL certificate then it may be possible that the credential(username, password) can be stolen. You can do this by simply protecting the wp-admin, wp-login.php by adding the code in .htaccess.
- To protect wp-login.php on Apache server add below code in .htaccess:
Code:
<Files wp-login.php>
AuthUserFile ~/.htpasswd
AuthName "Private access"
AuthType Basic
require user mysecretuser
</Files>- To protect wp-login.php on Nginx server add below code in .htaccess:
Code:
location /wp-login.php {
auth_basic "Administrator Login";
auth_basic_user_file .htpasswd;
}- To protect “wp-admin” server add below code in .htaccess:
Code:
AuthUserFile ~/.htpasswd
AuthName "Private access"
AuthType Basic
require user mysecretuserIt is necessary in all actions of websites and accounts. Update plays very important role in desktop and mobiles.
- You can update the Plugin in WordPress.
- You can update the admin dashboard in Wordpress.
- You can update the theme in WordPress.