How to install and work with CSF plugin?
WHM has few rules and regulations. To edit the rules in WHM, Config server is used to alter the iptables. It has few features such as login, Linux server use security mechanism, intrusion detection mechanism, SPI (stateful packet inspection).
You might have heard about brute force, for this kind of hacking methodologies plugin installation is must to protect your information’s.
Execute this command line and get confirmation message.
Enabling CSF:
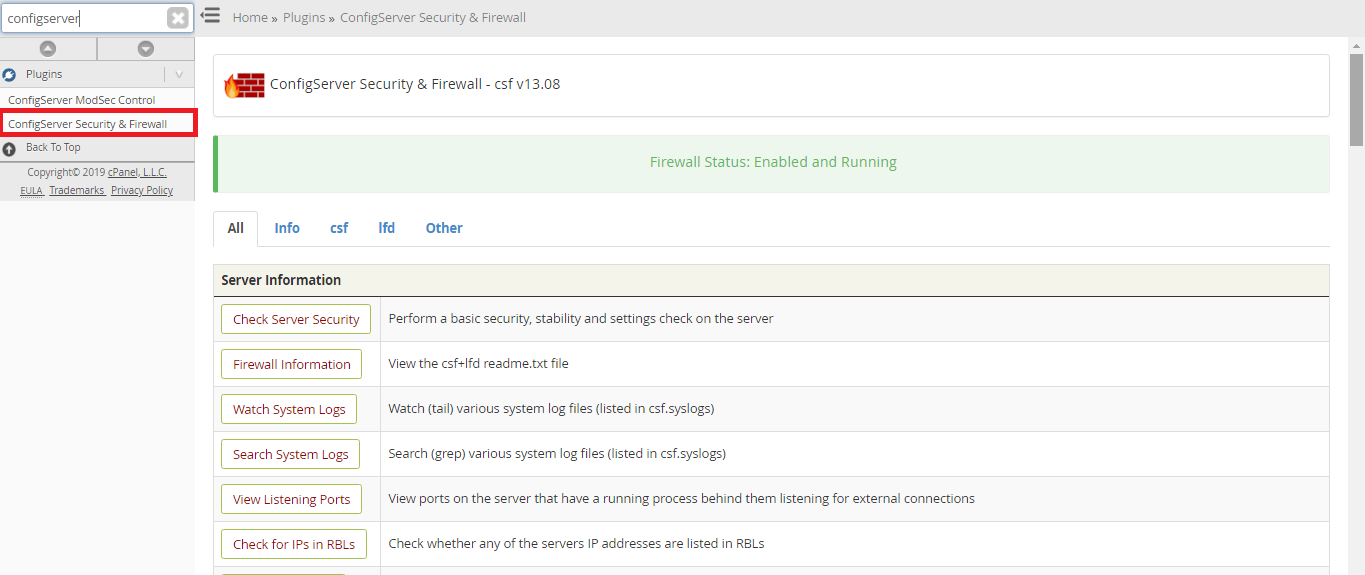
Step 1: In WHM, choose plugin and then config server security & Firewall.
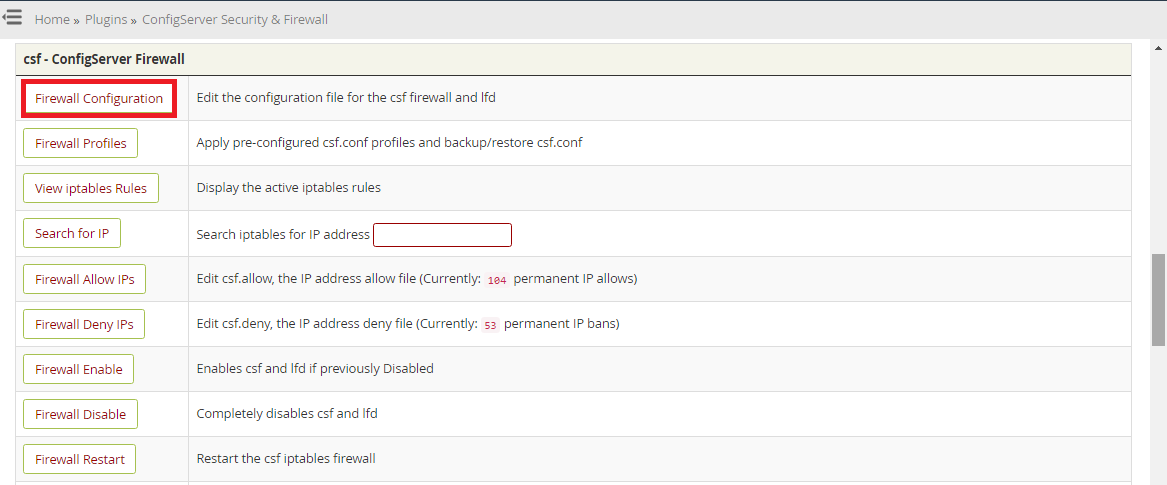
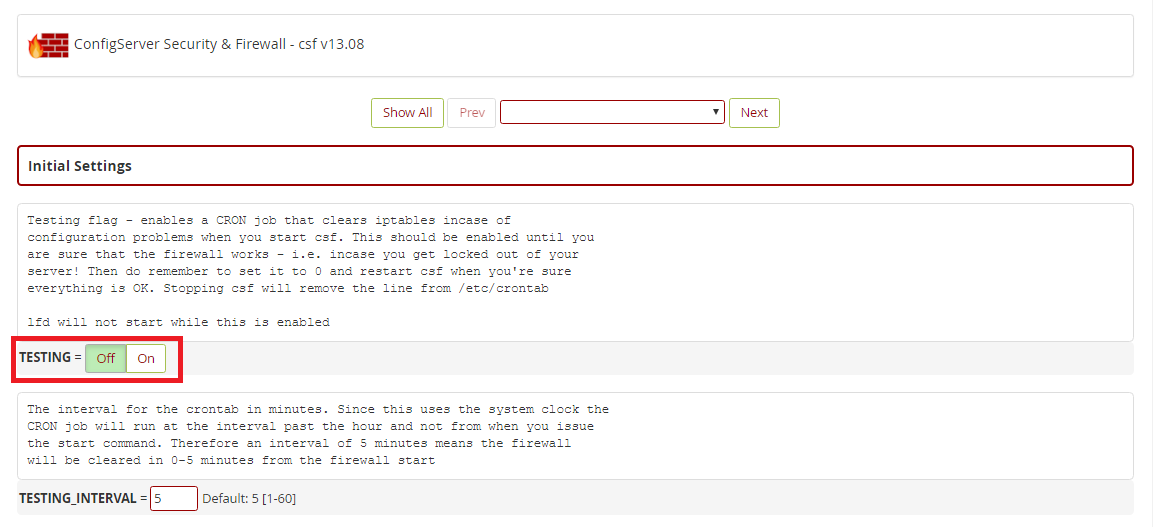
Step 2: Test mode will be notified after installation process completed. Here, you need to configure the firewall configurations.
Set the testing field value as 0.
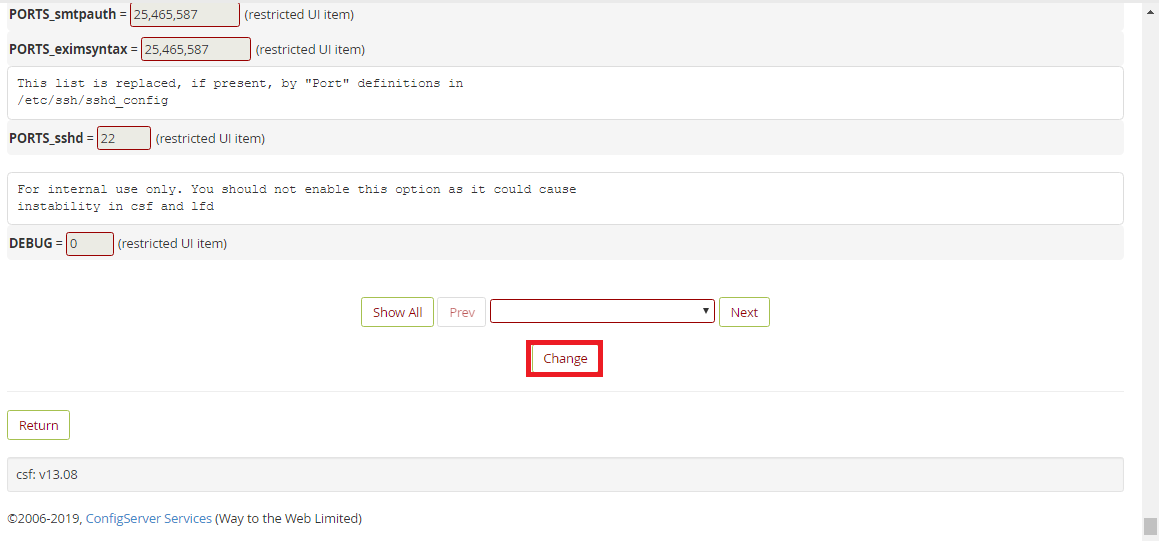
Step 3: Click change and then restart csf+lfd.
Firewall will be enabled automatically and you will get confirmation message one by one.


Add all the above command lines in file and then restart CSF.
WHM has few rules and regulations. To edit the rules in WHM, Config server is used to alter the iptables. It has few features such as login, Linux server use security mechanism, intrusion detection mechanism, SPI (stateful packet inspection).
You might have heard about brute force, for this kind of hacking methodologies plugin installation is must to protect your information’s.
- Installation
- Rules for firewall management
- Manual IP address block
- Ip address whitelisting Manual process
- Email notification disable method
- Port opening
- Ip status cross-checking in firewall
- Installation:
Code:
cd /usr/src
rm -fv csf.tgz
wget https://download.configserver.com/csf.tgz
tar -xzf csf.tgz
cd csf
sh install.shEnabling CSF:
Step 1: In WHM, choose plugin and then config server security & Firewall.
Step 2: Test mode will be notified after installation process completed. Here, you need to configure the firewall configurations.
Set the testing field value as 0.
Step 3: Click change and then restart csf+lfd.
Firewall will be enabled automatically and you will get confirmation message one by one.
- Rules in firewall management: Most common used rules are identified separately.
- Manual IP block: To block the IP address manually click on quick deny option.
- IP address whitelisting manually: To avoid the process of blocking in IP address click on quick allow option.
- IP status cross-checking in firewall: If you have any confusion like your IP address is blocked or not, search it in the search for IP field. Enter the IP address and so, you will get details regarding the IP address blockage.
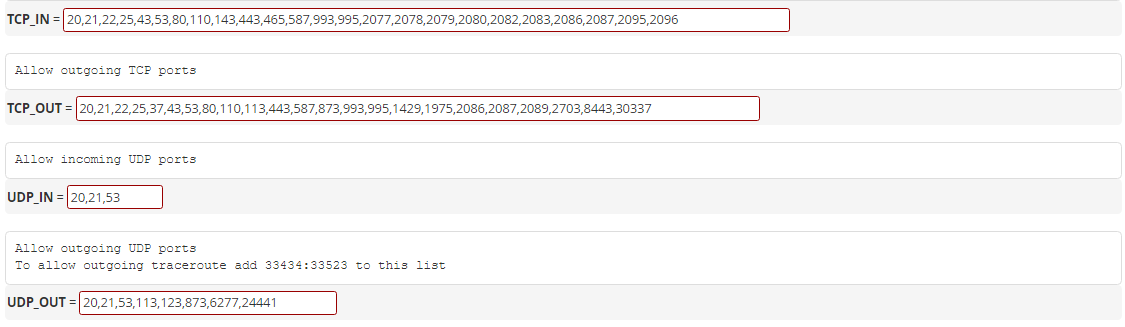
- Port opening: In firewall configuration, turn out TPC_IN/OUT and UDP_IN/OUT. Add your port in TCP_IN and check whether port is opened or not. Finally, click on change button for CSF restart method.
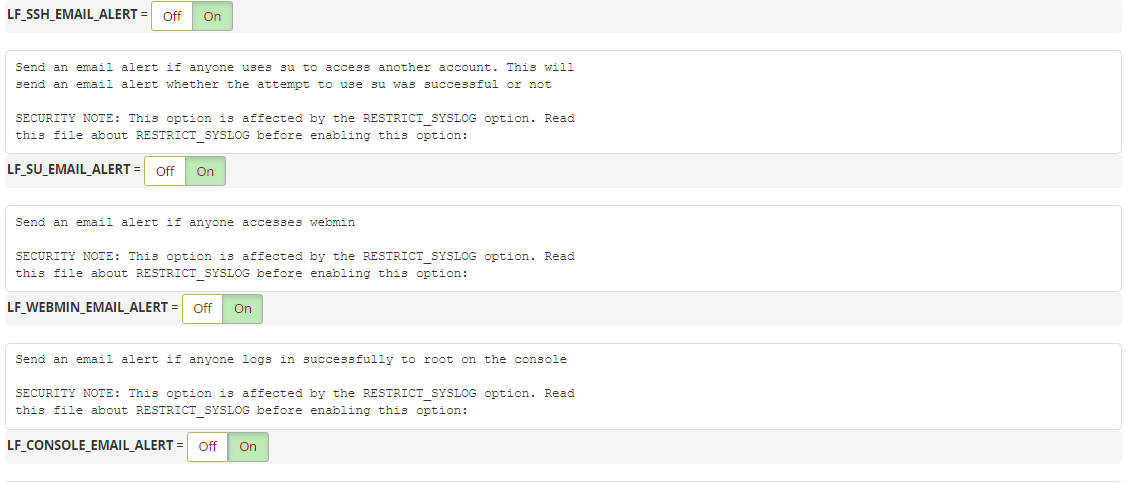
- Email notification disable: Once if you turn off the following ports, you will get an notification saying email notification is disabled.
- LF_CPANEL_ALERT, LF_CONSOLE_EMAIL_ALERT, LF_WEBMIN_EMAIL_ALERT, LF_SU_EMAIL_ALERT, LF_SSH_EMAIL_ALERT.
Code:
LF_SSH_EMAIL_ALERT="0"
LF_SU_EMAIL_ALERT="0"
LF_WEBMIN_EMAIL_ALERT="0"
LF_CONSOLE_EMAIL_ALERT="0"
LF_CPANEL_ALERT="0"