A virtual directory is a directory name that will map to physical directory on a local server’s hard drive or a directory on another server.
Steps to create a website within the virtual directory:
The following are the step by step instruction to create a virtual director;
There are two Specific parameters for creating virtual directories,

NOTE: The default checkbox names will be defined by IIS instead of Defined by parent directory.
Steps to create a website within the virtual directory:
The following are the step by step instruction to create a virtual director;
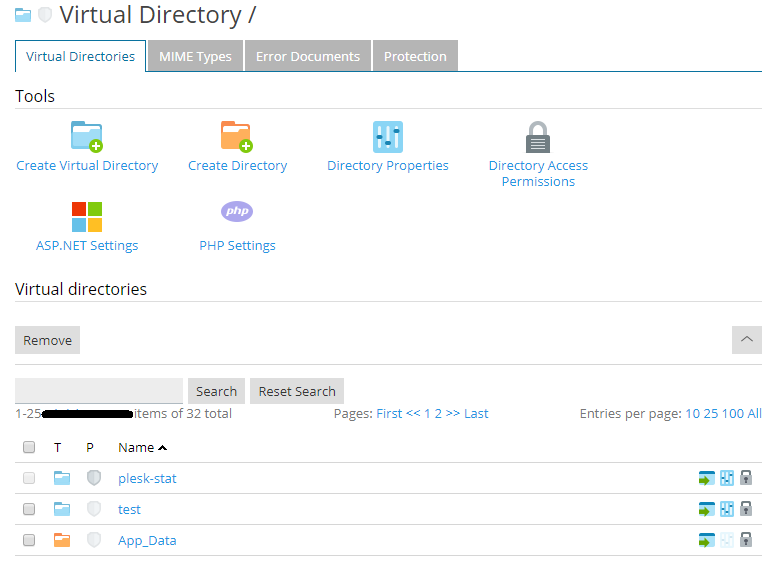
- First step is to go to the Websites & Domains tab.
- Search the name of the website domain.
- After the visiting the website and domains, select Virtual Directories.
- You will find yourself in your web site root now.
- After entering the web site root navigate easily into directory for creating a virtual directory.
- Then click on Create Virtual Directory.
There are two Specific parameters for creating virtual directories,
- Name - specify the virtual directory name in this parameter.
- Path - specify the virtual directory path parameter.
- Click on Create physical directory, and “create a physical directory with the same name as virtual directory” checkbox.
- This will automatically create a physical directory with the same name as the virtual directory you have created.
- Then specify the path in the field of checkbox to select a physical directory which already exists.
- Script source access:
- Getting the permission to Read:
- Getting the permission to write:
- Directory browsing:
- Log visits:
- Creation of application:
- Execute permissions:
- None – This option will permit the file which is static and makes sense to image and HTML files.
- Scripts only - It is used to run the scripts alone not for executive the mentioned options.
- Executables and scripts - For removing all restrictions use scripts and executable and so, your file will be executed.
- ASP Settings:
NOTE: The default checkbox names will be defined by IIS instead of Defined by parent directory.