Moving WordPress from a Subfolder to Root Directory: A Complete Guide
A website or web application is made up of folders and subfolders. It’s up to the developer how they want to arrange the files in this system. At times, you might feel the need or be asked to move WordPress from a subfolder to the root domain, i.e. public_html directory. Perhaps you have created the website in the root directory itself and now want to move into the root directory. You can do so easily and effectively. In this article, we’ll guide you through the migrating process.
Before You Start The Process
Before you start moving your WP from sub-folder to root, there are a few things you need to take care of. Those are:
After you’re done with all the per-requisite mentioned above, you need to prepare the installation. This is to accept the newly established URL name. Follow the steps:
Finally, you need to take care of the URLs. Follow the below steps:
A website or web application is made up of folders and subfolders. It’s up to the developer how they want to arrange the files in this system. At times, you might feel the need or be asked to move WordPress from a subfolder to the root domain, i.e. public_html directory. Perhaps you have created the website in the root directory itself and now want to move into the root directory. You can do so easily and effectively. In this article, we’ll guide you through the migrating process.
Before You Start The Process
Before you start moving your WP from sub-folder to root, there are a few things you need to take care of. Those are:
- You must have access to your cPanel and File Manager. Along with that, you need to have access to phpMyAdmin in case you need to revert the changes made at some point in time.
- Create a full backup of your database using plugins like BackWpUp.
- Clean up the root directory for any old site files. This includes the index.html which may hinder with the transfer. You can copy the old files into a folder so they don’t interfere with WordPress
- You need to ensure there aren’t any folders present in the root directory that carry the exact name as any page of the WordPress website.
- De-cache everything and deactivate the cache plugins, if any.
After you’re done with all the per-requisite mentioned above, you need to prepare the installation. This is to accept the newly established URL name. Follow the steps:
- Using correct credentials, log into your WordPress dashboard
- From the dashboard, navigate into Administration >> Settings >> General
- Change the WordPress address (URI) from mywebsite.com/WordPress to mywebsite
- Do the same for Site address (URL)
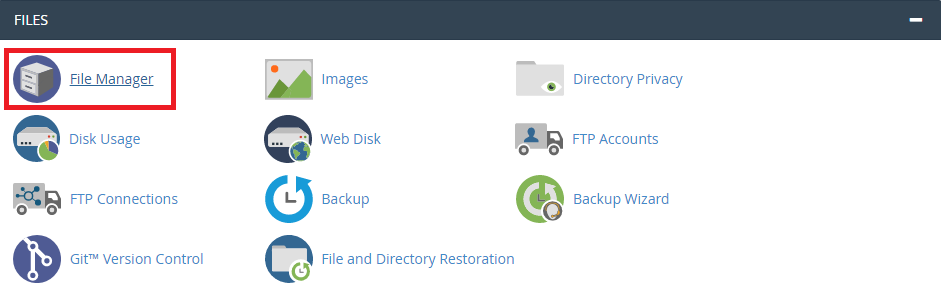
- Log in to your cPanel
- From the main dashboard, open the File Manager tool
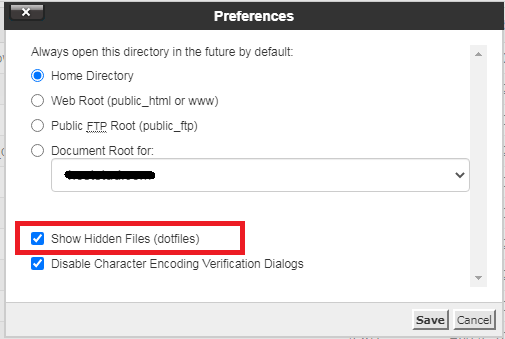
- From the Preference window, select the Show Hidden Files checkbox
- Inside the File Manager, you need to navigate into the folder where you’ve stored the WordPress files. The folder can be named WordPress or something else
- Once you’ve found the WordPress folder, click on Copy icon present on the menu toolbar present at the top of the page
- After clicking on the Copy icon, you’ll be presented with a popup where you need to mention the destination folder. Look for the “public_html/WordPress” option and remove the WordPress extension. Click on Copy Files to confirm the transfer.
Finally, you need to take care of the URLs. Follow the below steps:
- Log into your WP admin dashboard
- Navigate into Administration >> Settings >> Permalinks and ensure the link structure matches with that of the new URL. If not, make necessary changes.