Steps to edit Locales in cpanel & WHM.
There are a number of features in the server which is very crucial while hosting and modify the website. Locales option is one of them which can be edited by the developer. This is not much tough task but if it is not known by the developer so this blog will assist them and can easily edit if follow given steps. If we talk about cPanel & WHM, so that is a component which is very well known just as Locale Edit cPanel interface which is responsible to gives the instruments to enable you to alter or edit these locales in the server side. Locales supervisor apparatus will introduce you some benefit to alter a Locale's gathering expressions with the interface of cPanel. In our blog, we are introducing and explain how to use of cPanel & WHM interface to alter or edit a locale.
1) First, you need to login into your dashboard of WHM by using the correct user name and password.
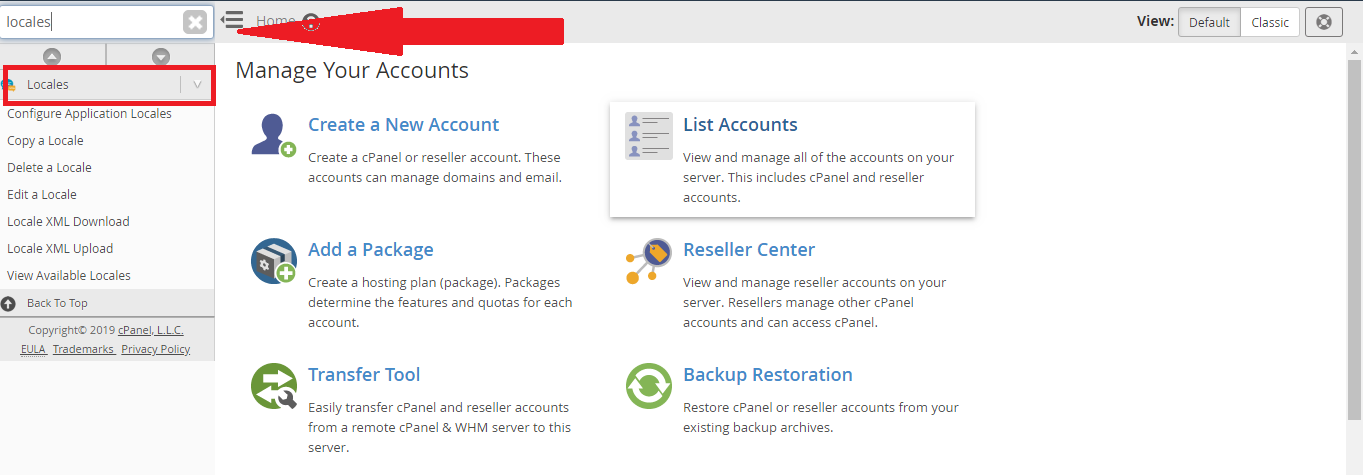
2) You are able to see a number of options over there. You need to choose the option “Locales” from the option list.
Please see the given image which make you more clear to understand.
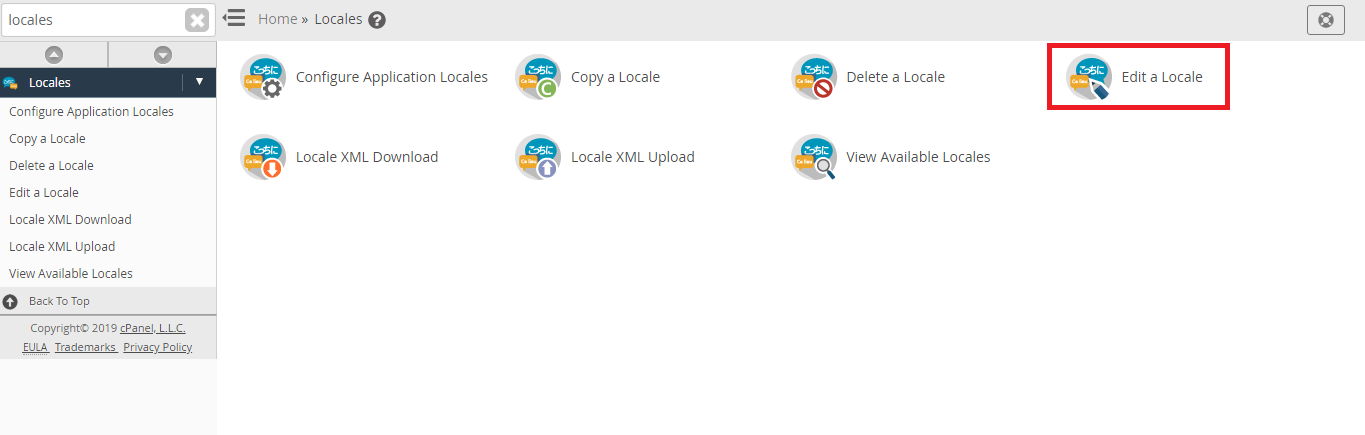
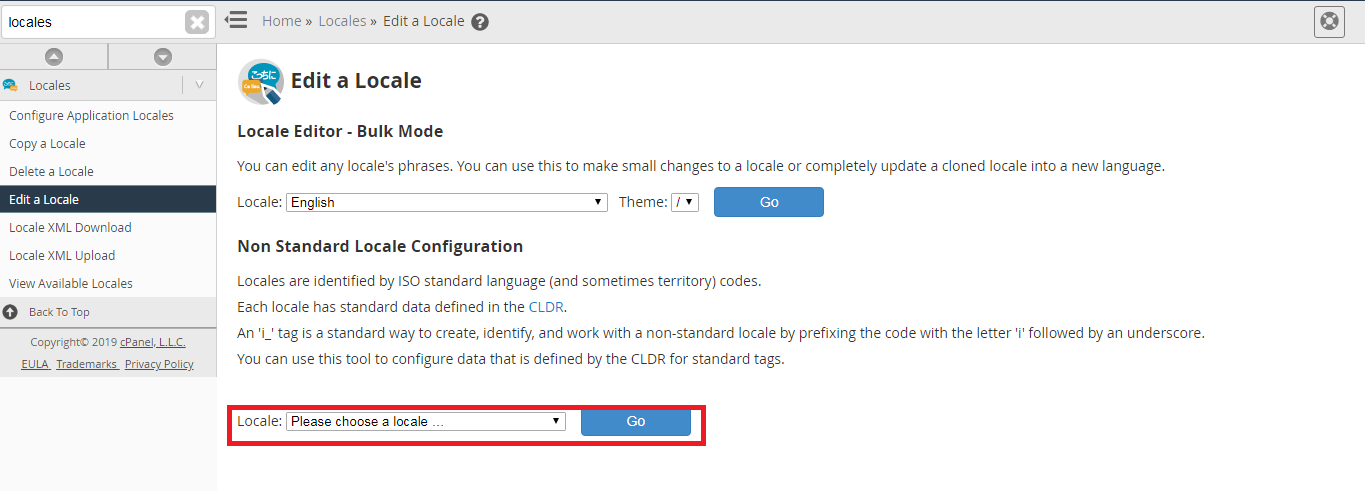
3) Here you are able to see "Edit a Locale" option inside Locales options. You have to select this option.
4) Now you need to choose a theme option from the menu “Theme”.
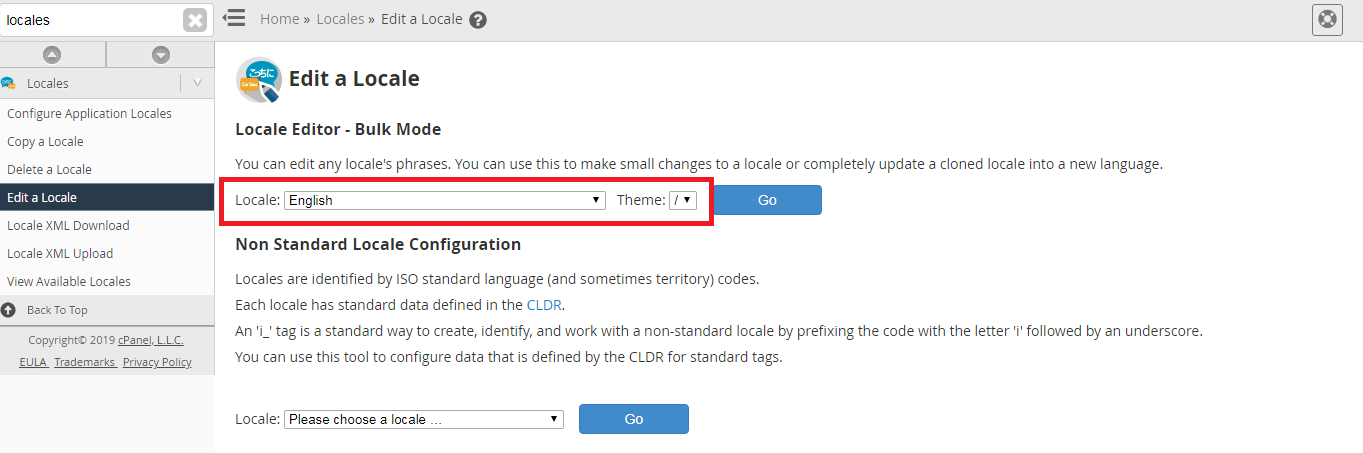
5) Now you need to click on the “Go” button which will show a new interface.
6) You need to click here on the button “Edit” which is inside phrase for which you need to edit.
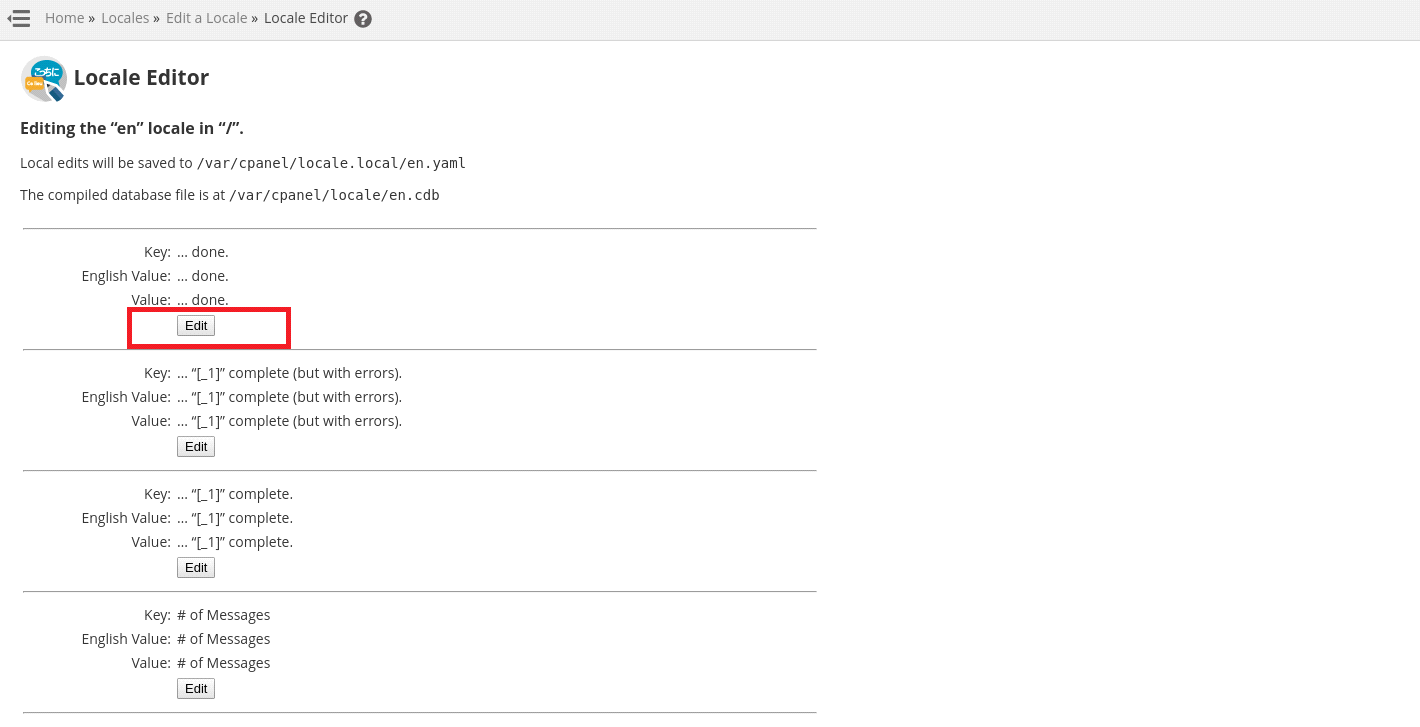
7) At the last you need to click on button “Save Changes” for saving what you made changes or you may click on the “Cancel” button to cancel without changes.
Configuration For Non-Standard Locale
If you have desire or need to make configuration for a locale which is non-standard, you are able to use this feature to perform. But here, system will add automatically i_ as a prefix for the name of the locales due to name of the locales which are one standard for identifying.
You need to follow few steps which are given below If you need to work with non-standard locales.
1) First, you need to select a locale by Locale drop-down select box menu and you need to click to the this option which is “Go” Button.
2) Here you need to give a name which will be displayed which is in the text box “Display Name”.
3) Here you are able to select the fallback locale, character orientation and number formatting from the menus.
4) Finally, you need to click on the “Save” button for updating the changes.
You need to run given script by using command line after working for this edit a locale interface.
Your desired result will not be displayed If you don't run given script by using command line until the upcp script runs next time.
There are a number of features in the server which is very crucial while hosting and modify the website. Locales option is one of them which can be edited by the developer. This is not much tough task but if it is not known by the developer so this blog will assist them and can easily edit if follow given steps. If we talk about cPanel & WHM, so that is a component which is very well known just as Locale Edit cPanel interface which is responsible to gives the instruments to enable you to alter or edit these locales in the server side. Locales supervisor apparatus will introduce you some benefit to alter a Locale's gathering expressions with the interface of cPanel. In our blog, we are introducing and explain how to use of cPanel & WHM interface to alter or edit a locale.
1) First, you need to login into your dashboard of WHM by using the correct user name and password.
2) You are able to see a number of options over there. You need to choose the option “Locales” from the option list.
Please see the given image which make you more clear to understand.
3) Here you are able to see "Edit a Locale" option inside Locales options. You have to select this option.
4) Now you need to choose a theme option from the menu “Theme”.
5) Now you need to click on the “Go” button which will show a new interface.
6) You need to click here on the button “Edit” which is inside phrase for which you need to edit.
7) At the last you need to click on button “Save Changes” for saving what you made changes or you may click on the “Cancel” button to cancel without changes.
Configuration For Non-Standard Locale
If you have desire or need to make configuration for a locale which is non-standard, you are able to use this feature to perform. But here, system will add automatically i_ as a prefix for the name of the locales due to name of the locales which are one standard for identifying.
You need to follow few steps which are given below If you need to work with non-standard locales.
1) First, you need to select a locale by Locale drop-down select box menu and you need to click to the this option which is “Go” Button.
2) Here you need to give a name which will be displayed which is in the text box “Display Name”.
3) Here you are able to select the fallback locale, character orientation and number formatting from the menus.
4) Finally, you need to click on the “Save” button for updating the changes.
You need to run given script by using command line after working for this edit a locale interface.
Code:
# /usr/local/cpanel/bin/build_locale_databases