Plesk Obsidian is known for its compelling UX and mangement tools that makes it popular among its users. Just like other software packages, it release updates every now and them. To get the most out of Plesk Obsidian, its recommended that you use the latest version. Here’s a guide to help you out with upgrading to the newest version.
Its a simple process that takes a few minutes to complete. Here are the steps involved:
Its important to note that Plesk Installer uses port 8447. If its filtered by a firewall, the above process will not work. You’d have to work with the Command line. Here are the steps to follow:
For Windows Server users, you’d have to run the commands as an Administrator. So those were the ways you could update your Plesk Obsidian. For further assistance, contact the hosting provider.
Its a simple process that takes a few minutes to complete. Here are the steps involved:
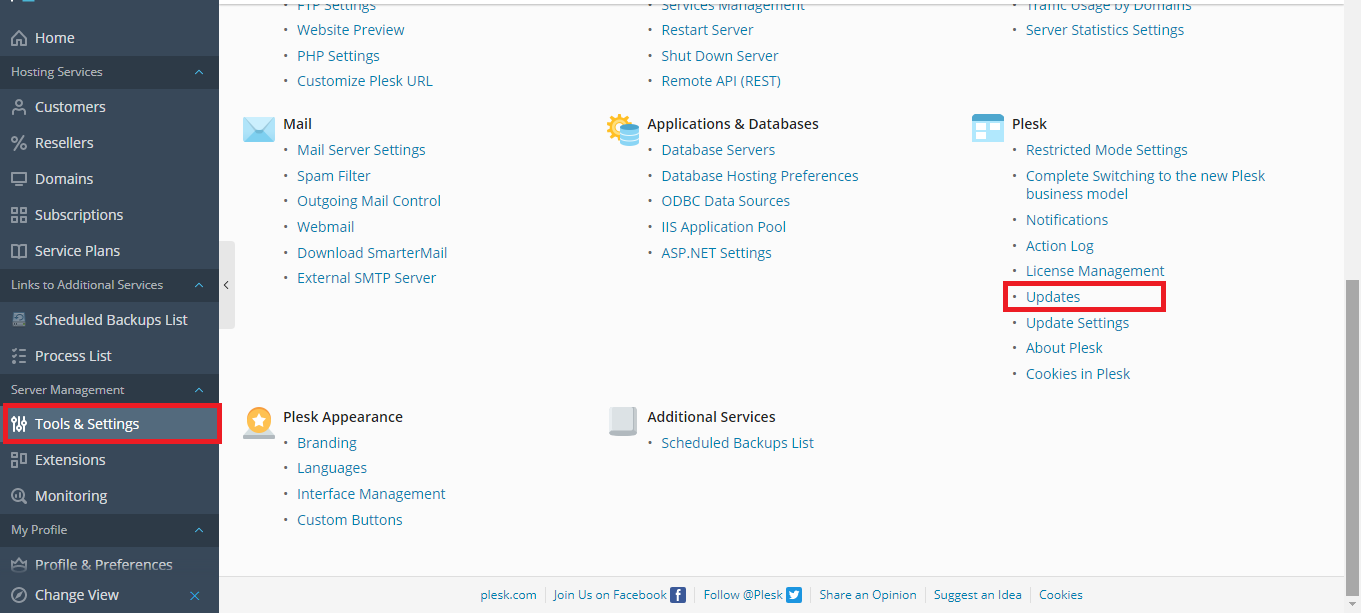
- Log in to Plesk
- Navigate into Tools & Settings >> Updates
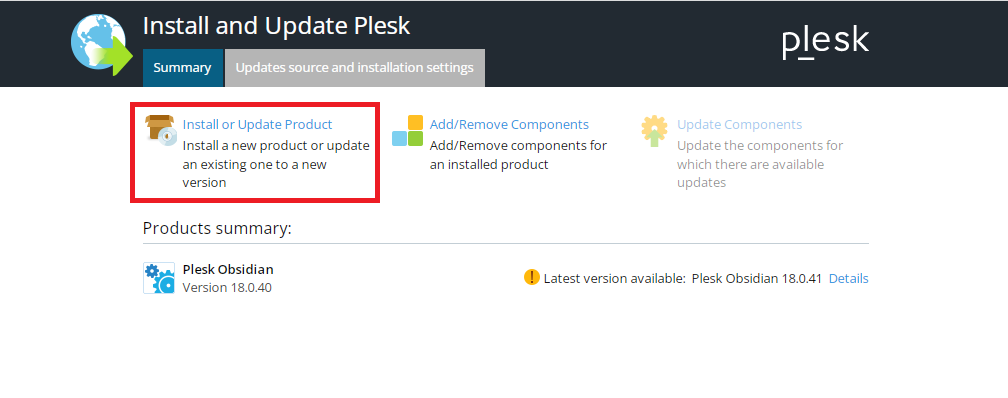
- Click on Install or Upgrade Product.
- Click on Continue to begin the process.
Its important to note that Plesk Installer uses port 8447. If its filtered by a firewall, the above process will not work. You’d have to work with the Command line. Here are the steps to follow:
- Using SSH (or RDP for Windows Server), connect to your Plesk Server
- Execute the following line to upgrade your Plesk Obsidian:
Code:
plesk installer –select-release-latest –upgrade-installed-components