Secure your server via WHM first login to your WHM.
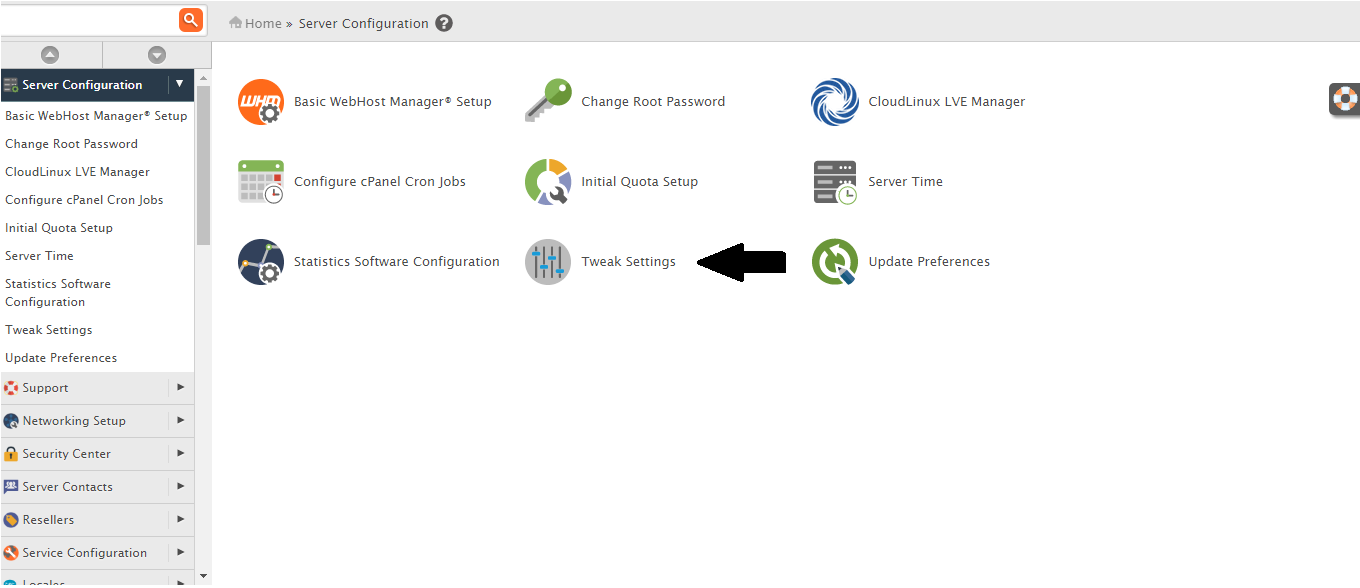
- Login to WHM >> Server Configuration >> Tweak Settings and then disable below options.
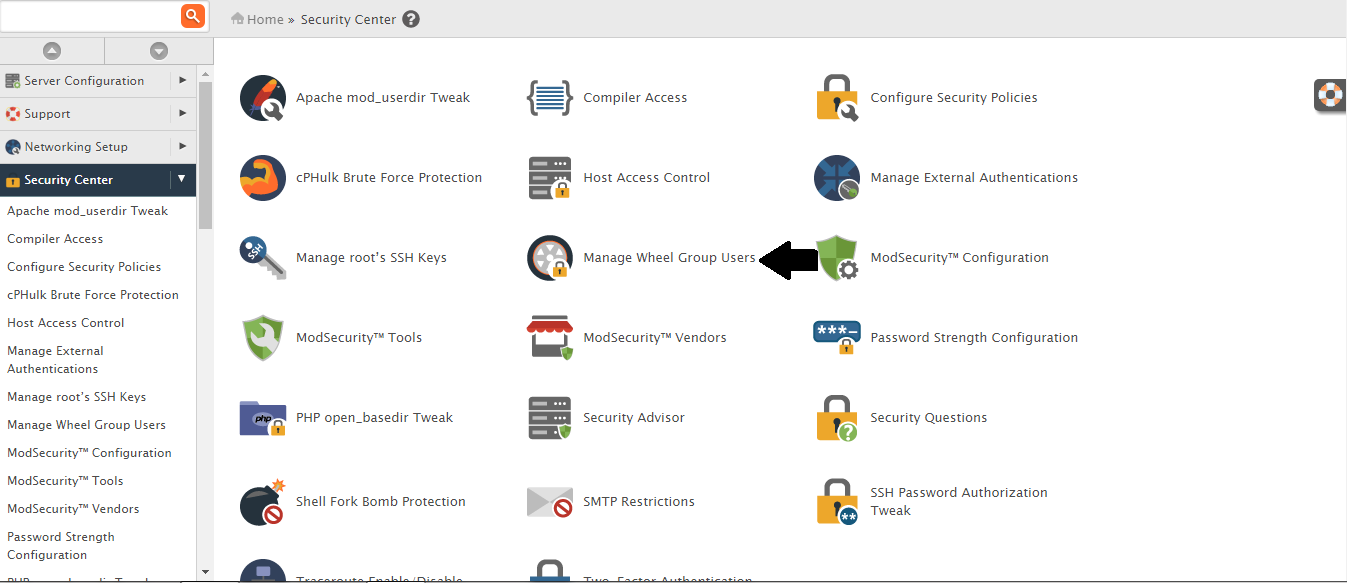
- After that go to WHM >> Security >> Manage Wheel Group Users
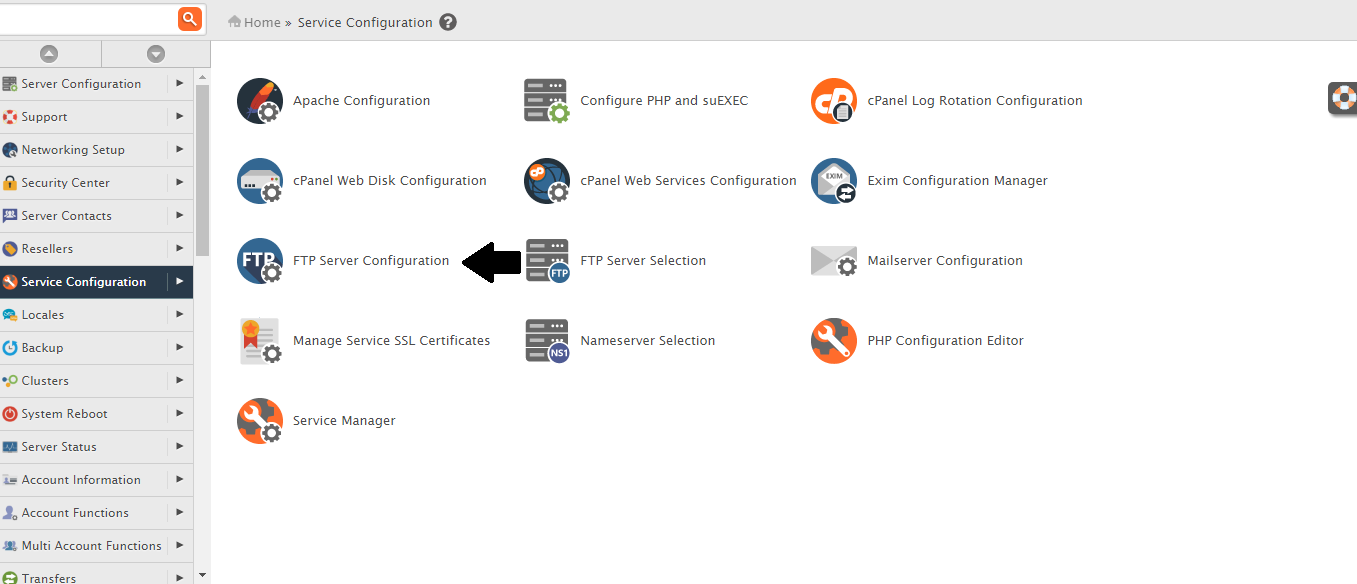
- Disable all the Anonymous FTP through : WHM >> Service Configuration >> FTP Configuration
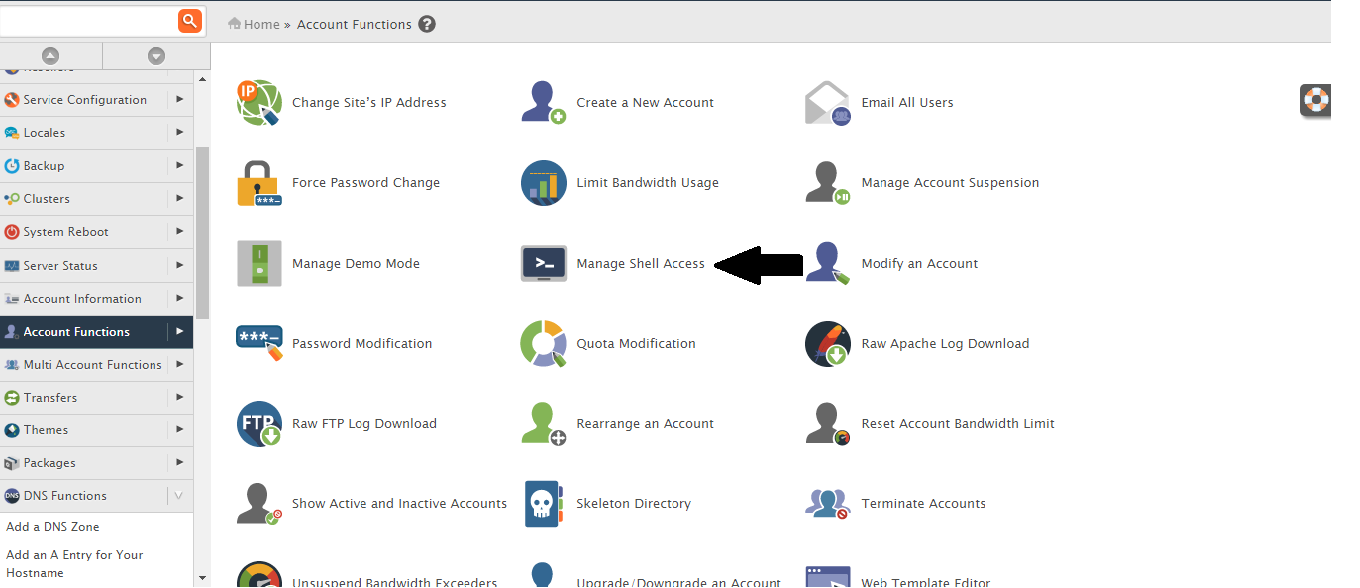
- If you don’t need to enable shell access then disable shell access for all users through: WHM >> Account Functions >> Manage Shell Access
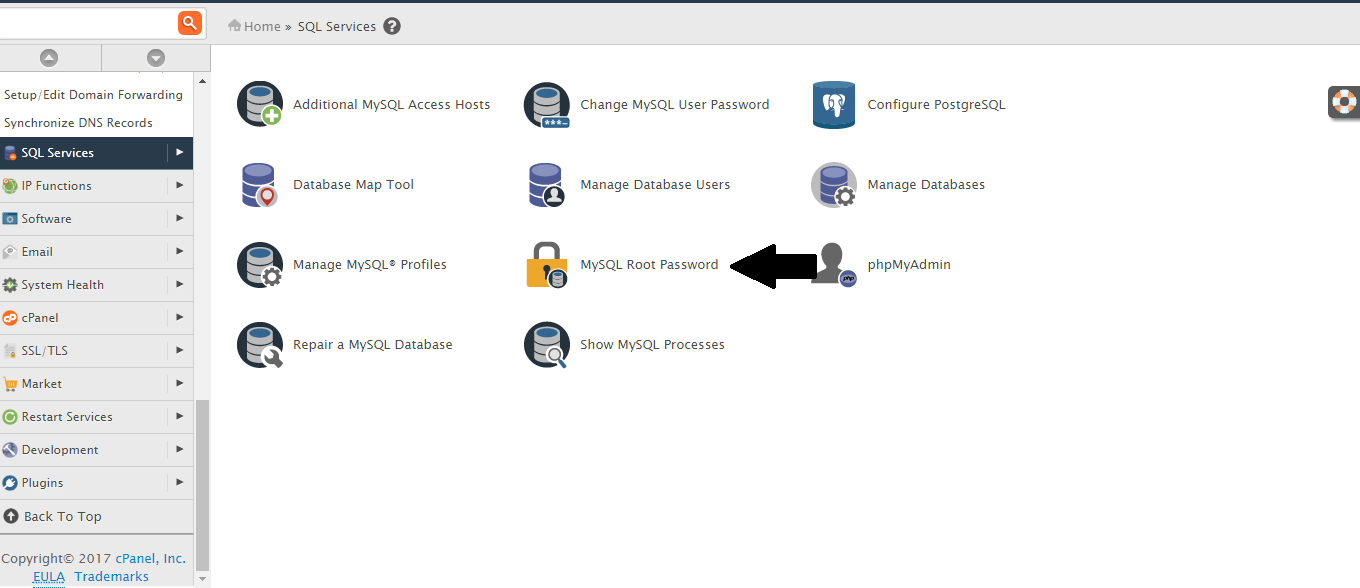
- Change your root password for MYSQL through: WHM >> SQL Services >> MySQL Root Password
- After making all the changes scan Trojan Horses from your WHM account. you can do this once in a week.
- If you don’t want to allow access your server to any third person without your permission then disable “Allow Creation of Packages with Shell Access” and enable “Prevent Accounts from being created with shell access”
- Update your kernel version. Update the system’s software by running ’yum update’ from the command line and reboot the system.
- Disable SSH password authentication in the “SSH Password Authorization Tweak” area through:
- Do not permit SSH direct root logins.
You can do it by manually edit /etc/ssh/sshd_config file and change PermitRootLogin to “without-password” or “no”, then restart SSH in the “Restart SSH” area in WHM.
- Upgrade to KernelCare. KernelCare provides an easy and effortless way to ensure that your operating system uses the most up-to-date kernel without the need to reboot your server.
You can install it on CloudLinux server through: https://www.cloudlinux.com/kernelcare-installation
- Change Password strength requirements to moderate or Strong.
Configure a Default Password Strength of at least 65 in the “Password Strength Configuration” area through:
- Enable CageFS for users on the Server. CageFS is a virtualized file system and a set of tools to contain each user in its own 'cage'. Each customer will have its own fully functional CageFS, with all the system files, tools, etc.
You can enable it through:
- Enable cPHulk Brute Force Protection on server through:
- Disable Entropy Chat on server. To disable Entropychat in particular, uncheck the "Enabled" checkbox next to it in
- Remove MySQL test databases. You can remove test databases through:
- MySQL check for anonymous users:
- Block MySQL port on server firewall, effectively allowing only local connections.
- Enable “Query Apache server status to determine the sender of email sent from processes running as nobody” in the “Exim Configuration Manager” area's “Basic Editor”