Plesk is a one-stop solution for administrator who wants to build websites, email accounts, DNS entries from a single place. The intuitive web-based interface is another reason for its popularity even if it’s a paid application. As opposed to cPanel, Plesk can run on both Windows and Linux environment, which is an advantage.
Plesk also ships with two database management tools, namely, the phpMyAdmin and myLittleAdmin. But you can also add external databases and remove them at will. In this article, we explain the complete process behind it.
Adding External Database Servers
As mentioned earlier, you can add external database servers to use with your hosting server.
But first, you’re required to set up the external server. Here are the steps involved for this process:
For this purpose, here are the steps involved:
This would open up the “New database server” option where you can set up everything. Here you’ll find a lot of sections to fill up. Some of them are:
You’ve successfully added an external database to Plesk.
Removing a Database Server from Plesk
Just like you added a server, you can remove a server from Plesk. But you should take measure you’re not removing the default server. Here are the steps involved in removing an external database server from Plesk:
Plesk also ships with two database management tools, namely, the phpMyAdmin and myLittleAdmin. But you can also add external databases and remove them at will. In this article, we explain the complete process behind it.
Adding External Database Servers
As mentioned earlier, you can add external database servers to use with your hosting server.
But first, you’re required to set up the external server. Here are the steps involved for this process:
- First, install your preferred database which can be MySQL, Postgre SQL, or anything similar. It’s recommended that you learn about the version that is supported.
- Set up administrator’s account you want to use for the database
- Lastly, you have to allow access to the server
For this purpose, here are the steps involved:
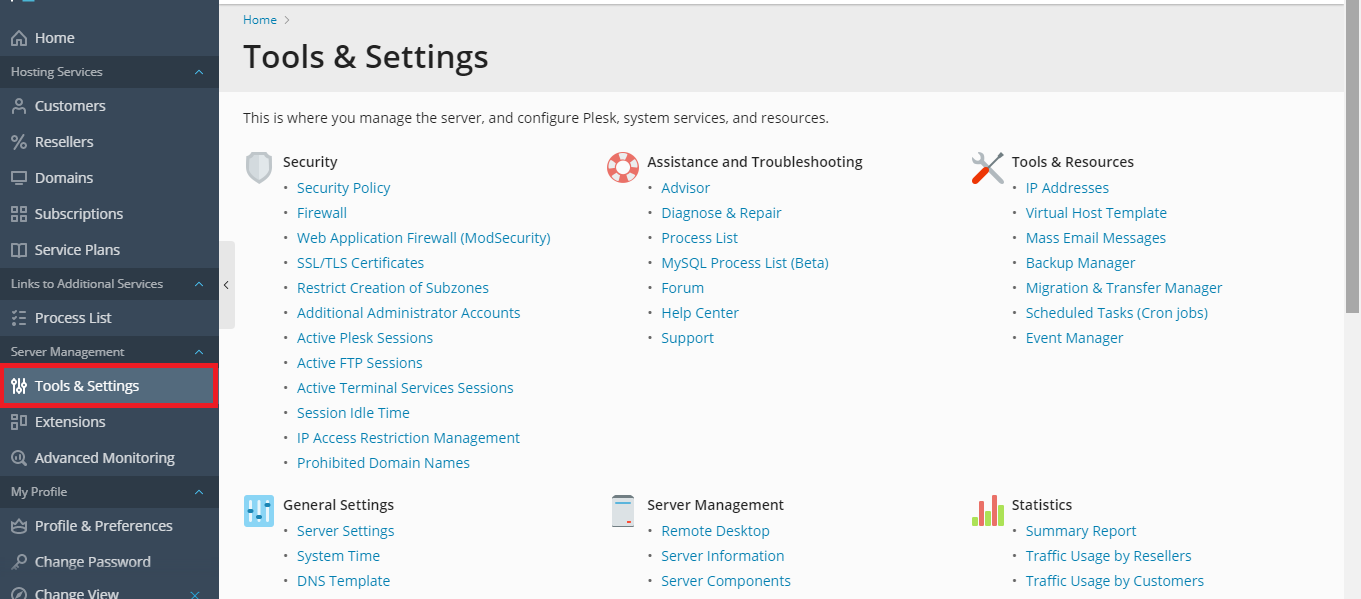
- Log in to your Plesk interface
- Navigate to "Tools & Settings" that can be found in the left-hand corner of the menu bar.
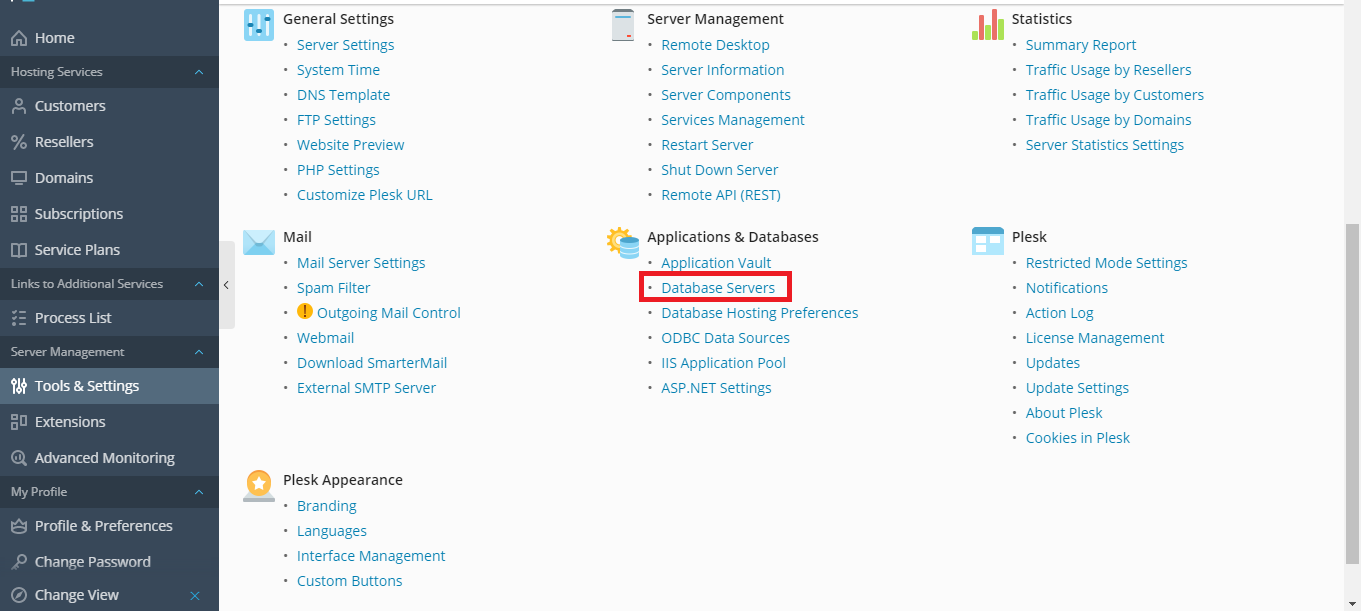
- Find for the “Applications & Database” section and then the “Database Servers” option
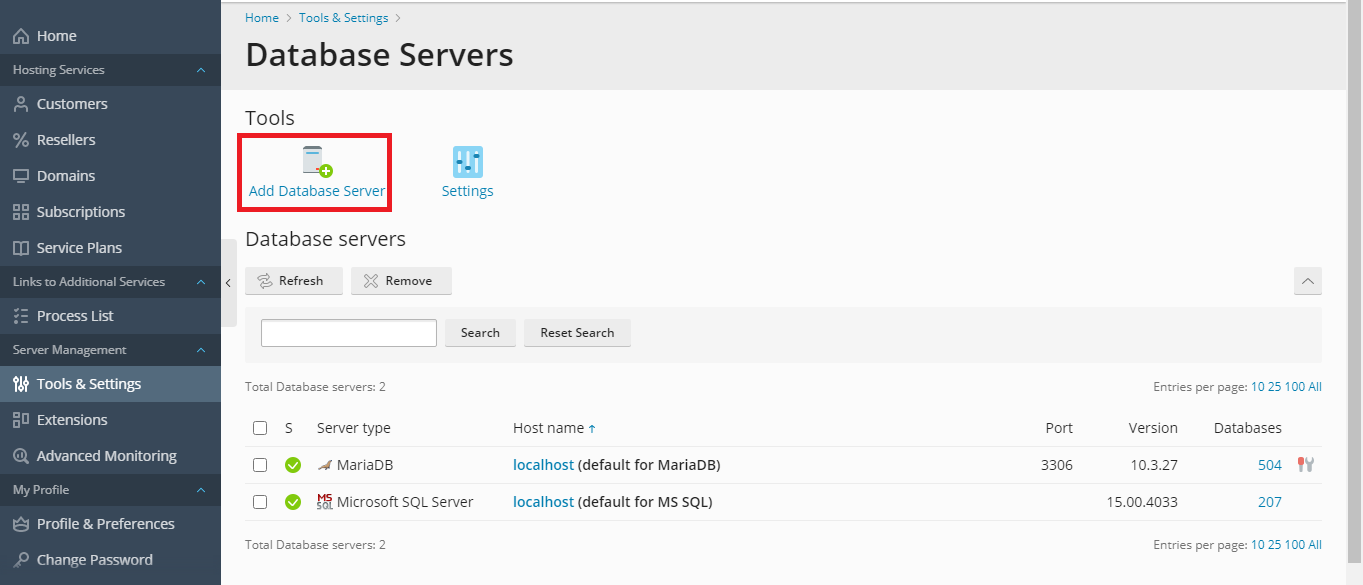
- Then tap on “Add Database Server” icon to add any external database.
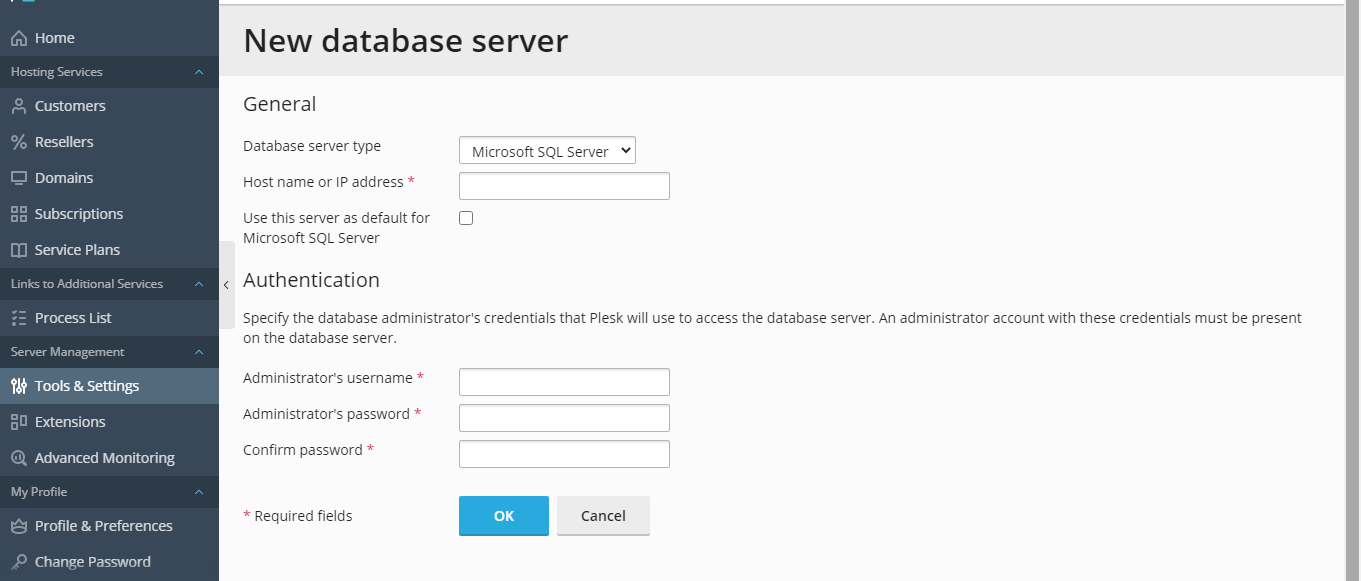
This would open up the “New database server” option where you can set up everything. Here you’ll find a lot of sections to fill up. Some of them are:
- For the “Database server type” option, you need to mention the database server engine type. The drop-down menu will present a list of all the engines supported by your license. Navigate to the License Management page found under the Tools & Settings
- For the “Host name or IP address” option, you need to mention the IP address of the external database or the hostname
- Next, you need to provide the port number that the database listens to
- Finally in the “Authentication” section, you need to set a username and a password of your choice
You’ve successfully added an external database to Plesk.
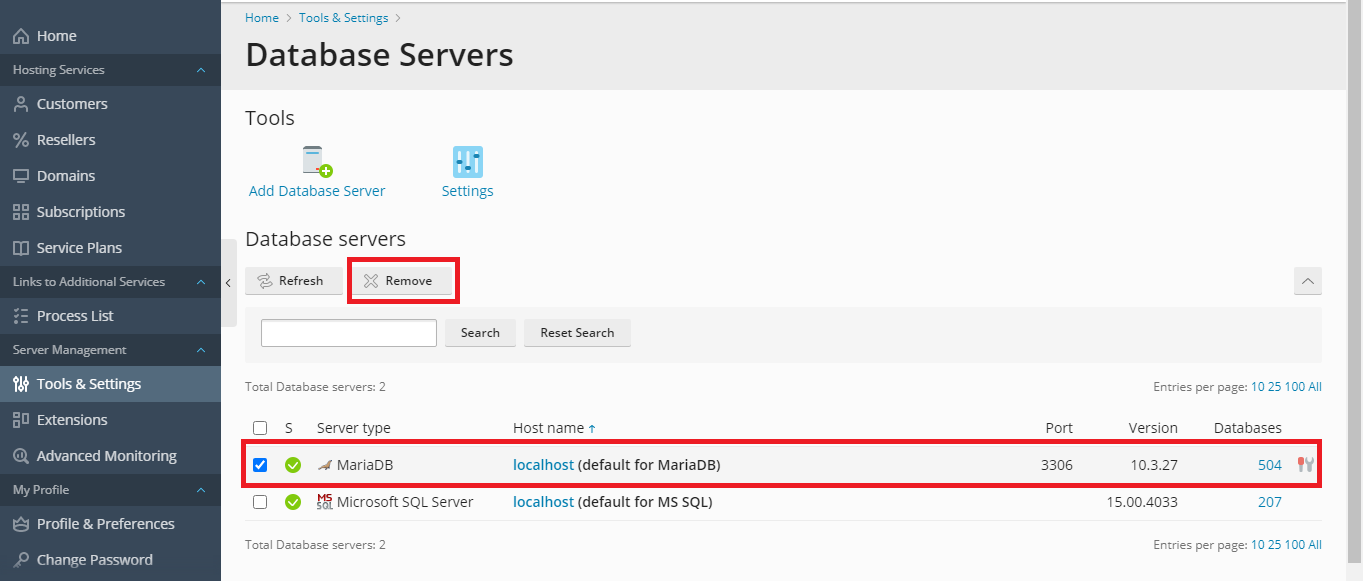
Removing a Database Server from Plesk
Just like you added a server, you can remove a server from Plesk. But you should take measure you’re not removing the default server. Here are the steps involved in removing an external database server from Plesk:
- Log in to your Plesk dashboard with credentials and navigate into the “Tools & Settings” option
- Then go into the “Application and Database” and click on the “Database Servers” option.
- You’re required to select the server hostname that you want to remove.
- Once you’ve selected, click on “Remove” button
- To confirm the operation, tap on “OK” button